

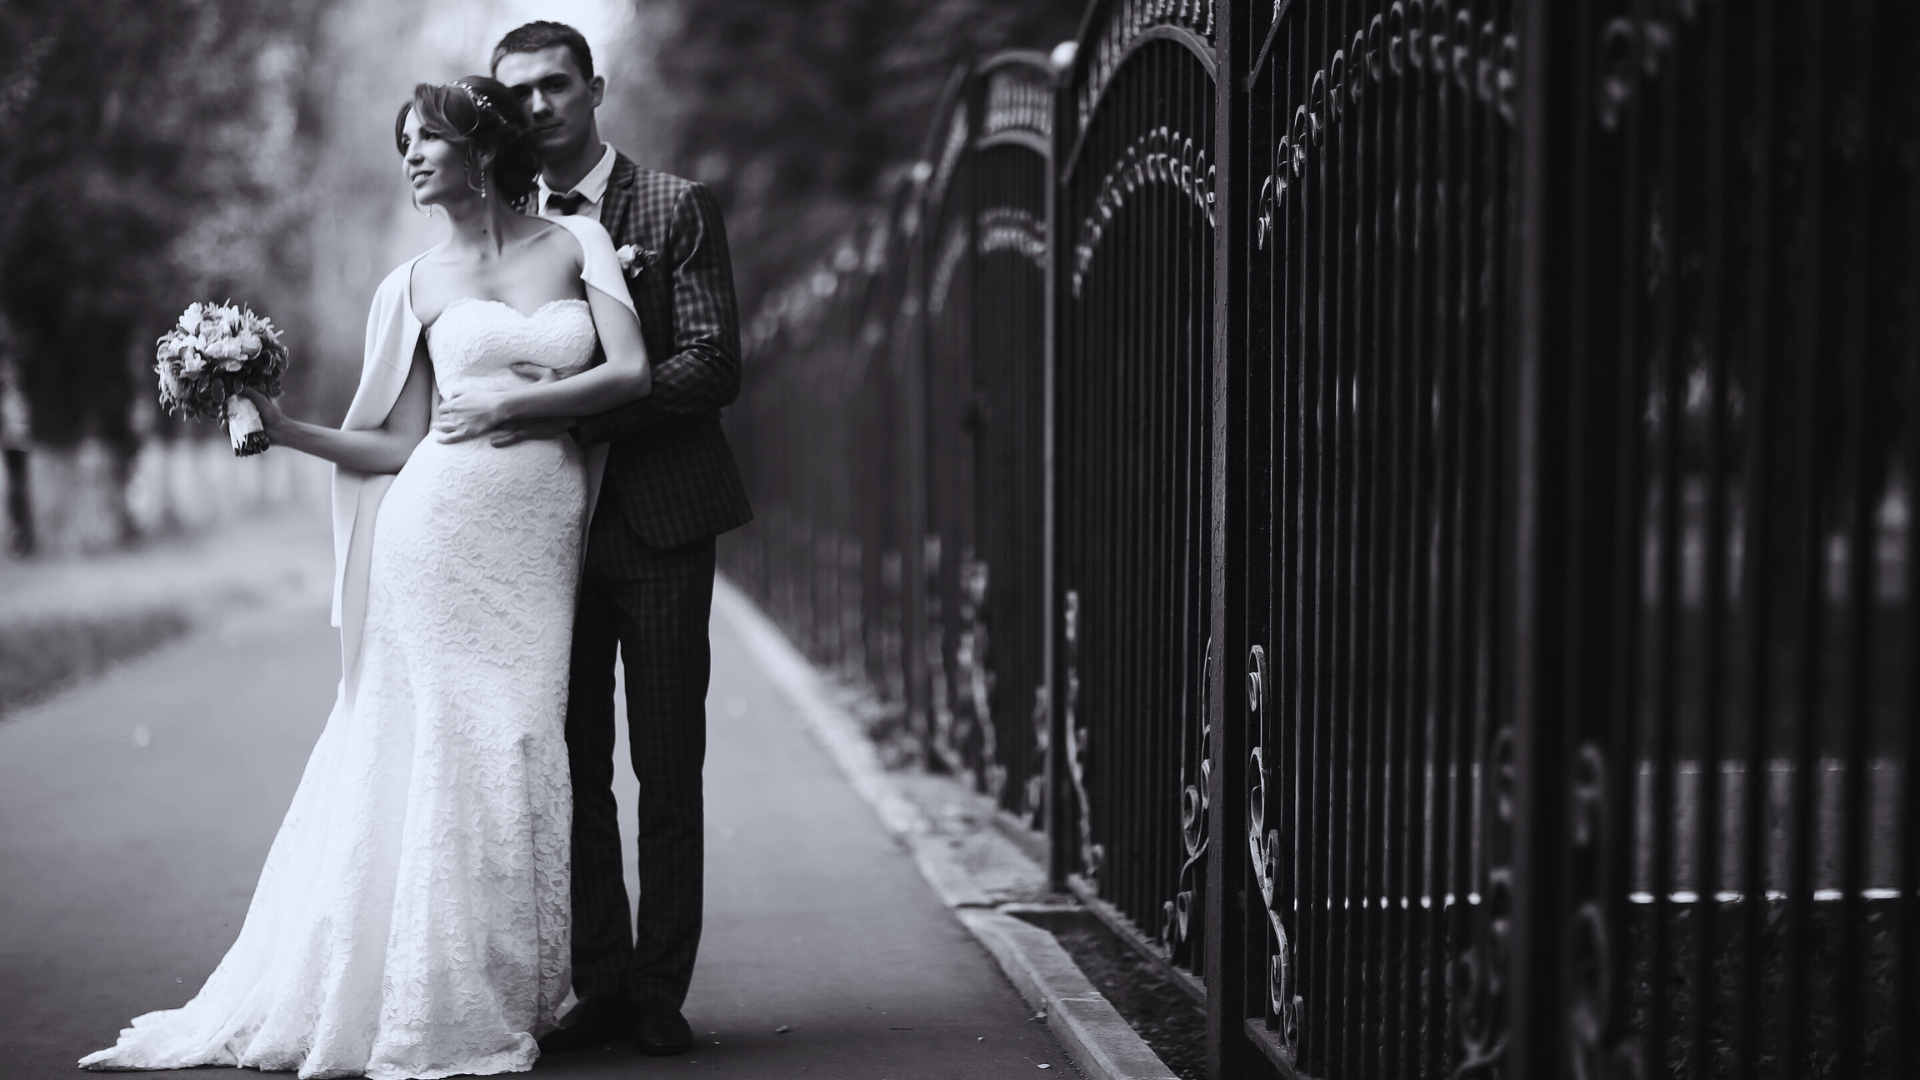
Black and white photography strips away colour, forcing attention on shapes, tones, and textures. Creating stunning black and white images involves understanding how light interacts with subjects and how to use contrast effectively. Mastering exposure, composition, and post-processing are essential to producing compelling monochrome photos.
Photographers must also carefully consider shadows and highlights, as these elements define depth and mood in black and white work. Emphasising patterns and textures can transform ordinary scenes into powerful visuals without reliance on colour.
By focusing on these key aspects, anyone can improve their black and white photography skills and create images that convey emotion and clarity. The tips shared here will help sharpen those abilities for more impactful results.
Foundations of Black and White Photography
Creating compelling black and white photos requires grasping how tonal values and textures work without colour. Mastery of camera settings, image formats, and visual anticipation ensures images retain depth and clarity despite the absence of colour.
Understanding Monochrome vs Grayscale
Monochrome refers to images made up of one colour or shades of a single hue, rather than just black, white, and greys. Most black and white photography is technically monochrome, using shades of grey to express light and shadow.
Grayscale images specifically use various tones of grey between black and white, lacking any other colour information. This distinction matters because editing tools or camera modes labelled “grayscale” often limit tonal range, whereas monochrome processing can allow preferred tonal adjustments.
Photographers should understand this difference to choose the best workflow, ensuring their images highlight contrast and texture in black and white photos.
Visualising in Black and White
Successful black and white photographers anticipate how a scene translates without colour. They focus on light, shadow, contrast, and pattern rather than hue.
Strong contrasts between light and dark areas add drama and structure. Textures and shapes often become more pronounced. Viewing scenes in terms of tone, rather than colour, helps identify compelling compositions before taking the shot.
They may also think about how colours will transform into greyscale—bright reds and blues, for example, can become similar tones and lose distinction if not carefully considered.
Essential Camera Settings
To create high-quality black and white photos, the right camera settings are crucial. Many photographers shoot in colour mode and convert later for flexibility.
Using manual mode or aperture priority gives full control over exposure and depth of field. Lower ISO values reduce noise, vital for crisp monochrome images.
Some cameras offer a monochrome shooting mode, but this is often limited because it discards colour data that can be useful during editing. Setting the image profile to a flat or neutral style helps retain dynamic range.
Shooting in RAW for Maximum Quality
Shooting in RAW format preserves all the image data captured by the sensor, providing maximum flexibility when creating black and white photos.
RAW files allow photographers to selectively adjust exposure, contrast, shadows, and highlights without degrading image quality. This is critical because black and white photography depends heavily on tonal control.
RAW files also enable fine-tuning of tonal curves and brightness differentiation that JPEGs cannot match. Shooting RAW ensures black and white photos have cleaner tones and greater detail during post-processing.
Mastering Light, Shadow, and Composition
Understanding how light and shadow interact with the subject creates depth and emotion. Composition guides the viewer’s eye effectively through the image while highlighting key elements. Together, these factors shape the essence of compelling black and white photos.
Harnessing Light and Shadow
Light direction significantly influences the mood in black and white photography. Side lighting reveals texture and form by casting strong shadows, while front lighting flattens details and reduces depth. Photographers should seek natural or artificial sources with varied angles for dynamic effects.
Shadow areas contribute to the image’s dimensionality and contrast but must be balanced. Overexposed highlights or overly dark shadows risk losing detail. Using light modifiers such as reflectors or diffusers helps control harsh shadows and soften transitions.
Timing also matters—shooting during early morning or late afternoon produces softer, warmer light with long shadows. This timing emphasises the contrast without losing subtle tones, which are crucial in black and white photography.
Utilising Contrast for Impact
High contrast produces striking images by sharply separating dark and light areas. This is especially effective in scenes with geometric shapes or bold patterns. Photographers can adjust contrast during post-processing to fine-tune this effect.
Low contrast images can feel flat unless intentionally used to convey softness or mood. Maintaining midtones is important to retain details in subjects, particularly skin tones or textured surfaces.
Using histogram tools helps assess exposure and contrast while shooting. Balanced histograms usually indicate good distribution across shadows, midtones, and highlights, ensuring the image isn’t too dark or washed out.
Emphasising Texture and Patterns
Texture becomes more pronounced in black and white photography due to the absence of colour distractions. Light grazing the surface at an angle reveals every ridge, wrinkle, or grain. This enhances the tactile quality of subjects such as weathered wood, fabric, or skin.
Patterns create rhythm and repetition, guiding the viewer’s eye and organising the frame. Repeating elements combined with strong contrast intensify visual interest and depth.
Photographers should focus on framing and cropping to isolate textures and patterns. Close-ups or macro shots bring subtle details to prominence, while wider compositions benefit from placing patterns off-centre to maintain balance.
|
Tips for emphasising texture and patterns |
|
Use side lighting for strong shadows |
|
Look for repetitive shapes and lines |
|
Crop tightly to eliminate distractions |
|
Shoot in low ISO to preserve sharpness |
Post-Processing Techniques for Stunning Results
Post-processing transforms a black and white photo from ordinary to compelling by refining contrast, tones, and details. Key techniques include precise conversion methods, targeted light and shadow adjustments, and the strategic use of filters and editing tools.
Effective Black and White Conversion Methods
Black and white conversion can be done directly in-camera, but post-processing offers greater control. Software like Adobe Photoshop allows users to convert colour images by manipulating channel mixers or using dedicated black and white adjustment layers.
Adjusting individual colour channels—such as red or green filters—changes the tonal contrast. For example, a red filter darkens skies and lightens skin tones, creating dramatic contrast. Green filters enhance foliage and mid-tones for landscapes.
Using curves and levels after conversion helps fine-tune brightness and contrast. This adjustment clarifies textures and strengthens the image’s visual impact without colour distraction.
Selective Dodge and Burn
Dodge and burn techniques enhance photos by lightening (dodging) or darkening (burning) specific areas selectively. This controlled adjustment emphasises depth and guides viewers’ attention.
Digital tools in Photoshop allow for non-destructive dodging and burning via layers, using soft brushes at low opacity for subtle effects. This increases texture detail in shadows and highlights.
Applying dodge and burn can define facial features or strengthen contrast in landscape elements like rocks and clouds. Proper use avoids unnatural results by blending adjustments smoothly into the photo.
Enhancing with Filters
Filters mimic the effect of traditional black and white photography tools to influence tonal relationships. Digital red and green filters are commonly applied during post-processing to alter the image’s contrast and mood.
A red filter darkens blue tones such as skies, increasing the contrast between clouds and sky for dramatic effects. A green filter enhances contrast in greens, making foliage stand out while preserving detail.
Filters affect the brightness of different colours converted to grey, allowing photographers to simulate specific film looks or emphasise various elements naturally. Applying these filters digitally offers flexibility to experiment quickly.
Using Adobe Photoshop and Other Tools
Adobe Photoshop is a powerful tool for black and white post-processing, offering extensive control with adjustment layers, masks, and blending modes. The black and white adjustment layer is particularly useful for fine-tuning channel brightness.
Photoshop’s layer masks enable precise edits without affecting the whole image. The use of custom brushes for dodging and burning, combined with smart objects, improves workflow versatility.
Other tools like Lightroom provide streamlined black and white conversions with sliders for luminance, contrast, and grain. Combining these programmes allows photographers to efficiently create nuanced black and white photos using both global and local adjustments.
Creative Techniques and Advanced Tips
Mastering black and white photography involves more than just desaturating colour images. It requires deliberate choices in exposure, subject, and personal style to create powerful monochrome visuals that captivate the viewer.
Long Exposure for Dramatic Effects
Long exposure is a technique that can transform black and white photos by introducing smooth motion and ethereal textures. Photographers often use neutral density filters to extend shutter speed without overexposing the image. This helps capture flowing water, moving clouds, or light trails with a soft, ghostly quality.
By reducing distracting detail and emphasising contrast between static and dynamic elements, long exposure enhances the emotional impact of the photo. Proper use of a tripod is essential to maintain sharpness in the non-moving parts. Adjusting exposure length allows control over how much movement is depicted, tailoring the effect to the scene.
Experimenting with Subject Matter
Choosing unconventional or contrasting subjects can add interest and depth to black and white photography. Strong geometric shapes, patterns, and textures stand out well without colour, highlighting the form and structure of the subject.
Portraits also benefit from experimentation, especially with dramatic lighting or unusual angles to emphasise facial features and expressions. Urban environments, with their interplay of light and shadows, offer rich opportunities for compelling black and white compositions. Photographers should seek subjects that rely on tonal variation rather than colour for visual impact.
Developing Your Unique Monochrome Style
Individual style in black and white photography often evolves through experimentation with contrast, grain, and tonal range. Some photographers prefer high contrast images with deep blacks and bright whites, while others focus on subtle midtone gradations for a softer look.
Post-processing tools like curves and dodging/burning help refine the mood. Consistency in these elements creates recognisable imagery that stands apart from generic monochrome work. Developing a signature style requires patience and practice, often by revisiting similar subjects or themes with distinct editing choices.
Leave a Reply